

Newborn Photography: How to Capture Tiny Details with Macro Photography
Welcome to the world of Newborn Photography, where every tiny detail matters and is celebrated! From baby’s tiny eyelashes, to their little noses, lips, and tiny flakey toes. These are details that every parent wants to remember, and they will absolutely love having these images included into their gallery!
As a seasoned newborn photographer, I know I need to include macro images in every single photoshoot I do, and I'm excited to share my insights on how to capture those precious, intricate details of newborns.
In this guide, I'll walk you through the techniques and tips for mastering macro photography in newborn sessions.
1: Understanding Macro Photography
Macro photography uses special macro lenses to capture images. For DSLR cameras, those lens will vary. I use CANON RF100mm F2.8 L MACRO IS USM but have also used the Tamron 90mm 2.8 lens also. The autofocus on my Canon RF100mm macro is far superior to the Tamron, but if manually focusing isn’t a big deal for you then the Tamron 90mm might be a great lens to start with as it is around half the cost.
The Canon RF100mm Macro is a match made in heaven on my Canon EOS R5 mirrorless body. It is just a joy to use and create with!
Macro is different from just a CLOSE UP. For close up entire face images, I can get away using my 35mm f/1.4L lens, but for true macro images, you must use a macro lens or a filter. (I do not personally have experience with macro filter, but they might also be an option if you are just starting out in your photography journey)
35mm f/1.4L Lens

RF 100mm MACRO lens
2. Preparing for a Macro Newborn Session
I always go into a Newborn Session knowing exactly when I will do my Macro Images of baby. There are a few reasons for this.
SET A ROUTINE: I know it seems Iike you won’t forget to take macro images, but learn from me. It happens. Now, I always make sure to have a basic routine I do for every newborn photoshoot, and if I do not follow it, there is always a chance of me forgetting to get my macro lens out. I get in the zone and get working, and it is SO easy to forget to do if it is not scheduled in your typical routine.
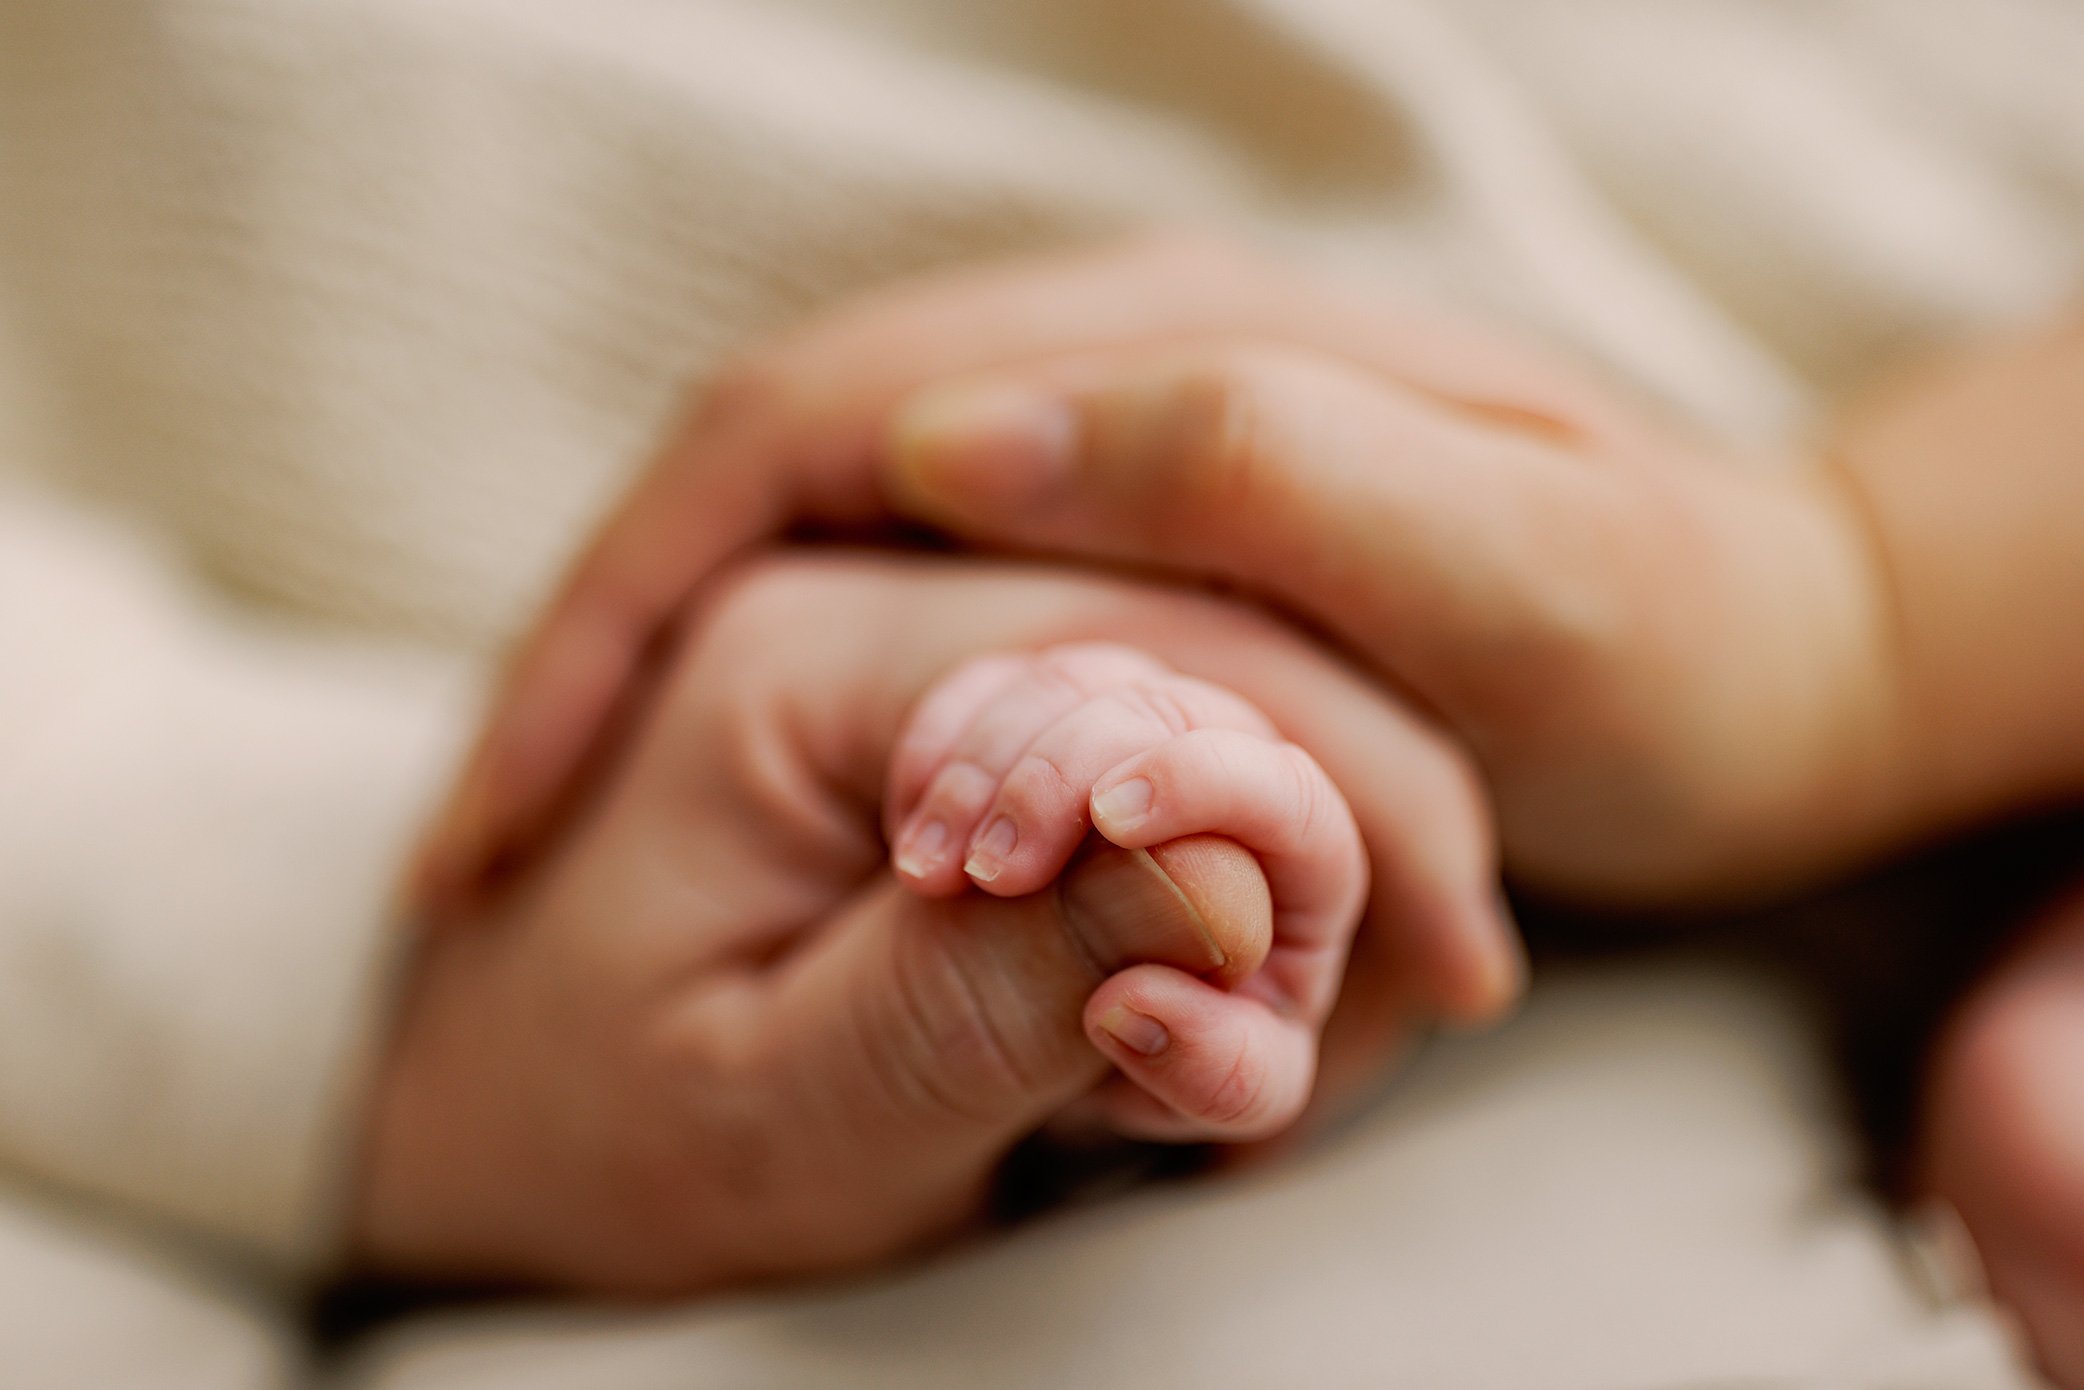
CHOOSE A SETUP: I always choose the same time and setup where their little features and fingers & toes are easily accessible, and where my lighting is able to be close to my subject. (see below for an image of when in my session I include macro shots!) This is also the same time when parents are able to be included easily! Some of my favorite macro images include dad’s hand holding baby’s toes, or mama holding onto baby’s fingers. Keep in mind that mama is still healing from birth and it is not always comfortable for her to be bending over, or getting up and down etc. Make it as easy and quick as possible on her when getting these images.

100mm Macro

This setup is when I typically take my macro images! All of babies fingers and toes are accessible, and it’s an easy add-in for parents hands!

So easy to add in a parent’s finger to help get those close up hand details, and it adds extra emotion for the parents as well.
3. How to Take Macro Images of Newborns
The most important parts of a successful Newborn Macro Photography session is lighting, camera settings, composition, and focusing.
Lighting: Lighting can be achieve with natural light, or studio lighting. In my case I use studio lighting, but the basics are the same. You want to ensure that you have adequate lighting for proper exposure when photographing newborn details. The way your light is setup will need to highlight baby’s details. You want your lighting to softly fall on baby’s features at a 45 or 90 degree angle. Or you may also backlight for some really great images too.
Camera Settings: Macro lens typically have a f2.8 as their lowest aperture. I typically shoot most of session around f2.0 aperture when I am using my fixed lens like my 35mm or 50mm. But when I shoot macro I am typically at f3.5/4 or even 5.6 because your depth of field is already so low with macros. This means you also need to increase your ISO. If you shoot macros at 2.8 you will loose most of the detail, and will be let with a very very small sliver of depth of field. There are times this can play into an artistic image, but generally it’s helpful to have an aperture closer to f4.
Composition: corner to corner and of course rule of thirds! This is what I think in my head when im composing for an image. This means let your image travel from top left corner to bottom right corner. This is the way your eye moves, and is very pleasing when it comes to macro images! See image below!
Focusing: You will need to decide if manual or auto focusing is right for you! You may also need to factor in the type of lens and camera you own. As mentioned, when using my Tamron 90mm the auto focus was pretty terrible, but using manual focus, I could still get the shots I needed! My Canon RF100mm Macro is a beast of a lens, and autofocus is a joy to use. But both Manual or auto focusing will get the job done!

Top left corner to bottom right corner is always a great angle for macros!
4. Working with Newborns in Macro Photography
When you are doing macro images of a newborn, it is so important to do these images when baby is completely asleep and swaddled. This is because you will be getting your lens close to baby and you will want baby to be perfectly still. Especially if you need to manual focus. I always do these images when baby is wrapped, and in a milk coma.
Make sure baby is asleep and comfortable before starting.
Wrap Baby up! This helps ensure they do not startle or jump.
Make sure environment is warm.
White noise to calm baby.
Baby has a full belly.
I do not even attempt the macro portion of my sessions unless baby is completely asleep and safely wrapped. I always keep my macro lens close by and am able to bring it out as soon as baby is asleep.
5. Editing Tips for Macro Newborn Photos
Macro images are typically edited differently than the rest of your session. There are usually deeper shadows, brighter highlights, and extra clarity, grit and depth to bring more feeling and emotion to these images. Typically they are also offered in B&W as well as color. I prefer the B&W often, but most parents love the color! So it’s alway great to include both.
Editing Macros in Adobe Photoshop: I offer a few actions in my ONE BRUSH WONDER- COLLECTION FOR NEWBORNS . My favorite actions I use all the time for Macro Images are The One Brush Wonder Newborn for skin smoothing, and my Baby Skin - All Over Tone Corrector. Baby fingers and toes typically have some redness, and this is such a huge help when getting those extremely close images!
Editing Macros in Adobe Lightroom: One of my favorite presets I use in Lightroom, is called aptly named “Close Ups” from my Darling Little Presets + Brushes Collection for Lightroom. Using this with my Photoshop actions is magic.
The biggest tips is add contrast, add depth, and lower exposure to bring out those perfect details of baby.

Before and After Editing using my Actions & Presets
In conclusion, learning how to provide your clients with beautiful Macro images of their darling newborn is an incredibly important skill to learn as a newborn photographer.
Hopefully Your Biggest Takeaways from this is to:
Understand Macro Photography
Prepare in advance
Learn Camera Settings/Lighting specific to macro photography
How to ensure comfort and safety of your newborn client.
Learn editing tips and tricks for post
Remember, Macro images are not typically something that your client will be able to capture themselves, and this is why it is so special for us as professionals to provide these images for them using our macro lenses and experiences.
Thank you for reading, and good luck with your Macro Photography journey! Hope this guide has been helpful and useful, and gotten you on the right foot.
Follow me on Social Media for more images to provide inspiration for your Newborn Macro Photography journey!